In 2022 we moved again, this time onto land that was all ours! So it was time to set up the D.I.Y. solar system I had been prototyping. I’ve started with a meager three panels (at 200 watts each), but I had to start somewhere, and 600 watts isn’t a terrible start either.
I looked around at a few options for mounting the panels and decided to go D.I.Y. again as an opportunity to beef up my non-existent carpentry skills. I was inspired by a low cost adjustable solar panel rack design and was able to go off the examples to build my own. The results aren’t half bad, and the panels are now mounted and the angle is easily adjusted. Mission accomplished.
To anyone else about to mount some solar panels, I highly suggest using an app such as Sun Seeker before getting started. I almost mounted them in a location that seemed great but didn’t get any sun in the winter.
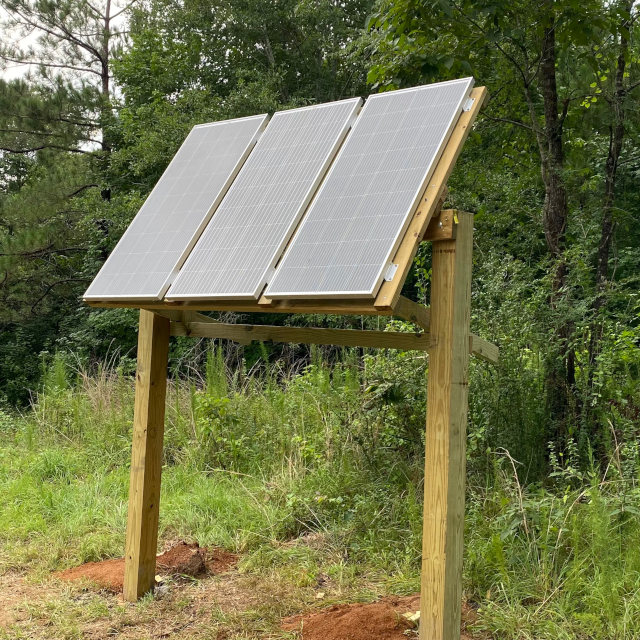 End result, soaking up the southern sun!
I forgot to take pictures of the frame which the panels are mounted to but I am especially proud of setting these 6inx6inx10ft posts by myself while keeping them both level!
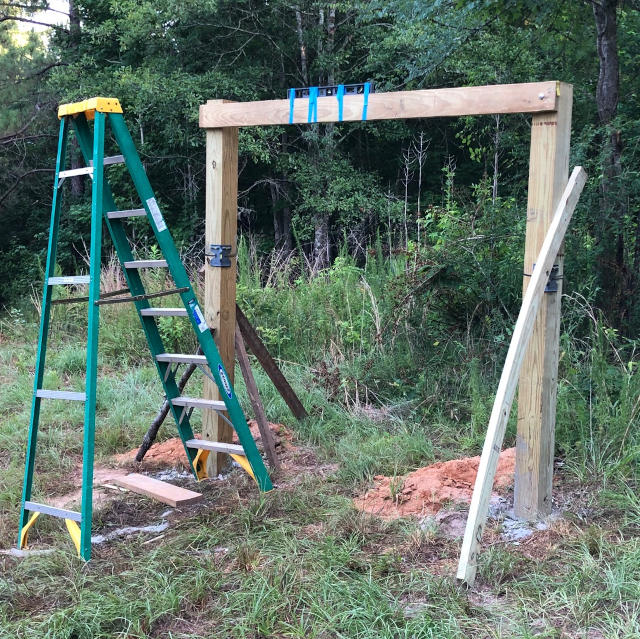 I attached the 2inx6in to one post first, set it and then used it to stabilize and set the second one. A level taped to the 2inx6in helped immensely.
2025 Update
As of 2025, the panels are still going strong, despite needing a cleaning and a tree blocking them at this specific time of day and time of year. They’re also in the summer tilt position but we’re only here for a couple days so I’m not worrying about adjusting them.
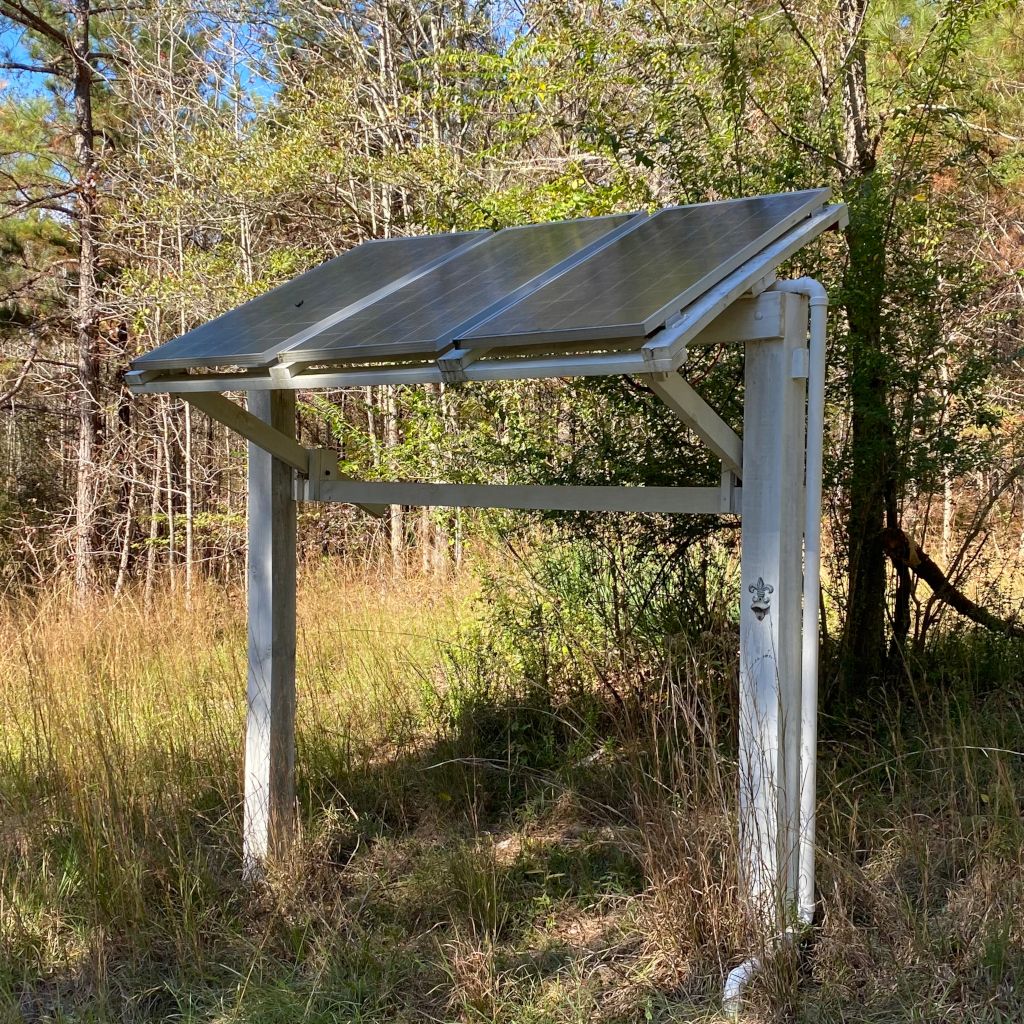 We painted the mounts with a white outdoor paint and added a celebratory bottle opener :)
I was somewhat worried about how the PVC pipes, which contain the wires that go back to the charge controller would hold up over time. I was concerned they wouldn’t survive the UV radiation and heat from the southern sun but so far they are doing fine. They did get a coat of the same outdoor paint for extra protection. We have three other panels we need to mount at some point but get plenty of power from these so far.
We painted the mounts with a white outdoor paint and added a celebratory bottle opener :)
I was somewhat worried about how the PVC pipes, which contain the wires that go back to the charge controller would hold up over time. I was concerned they wouldn’t survive the UV radiation and heat from the southern sun but so far they are doing fine. They did get a coat of the same outdoor paint for extra protection. We have three other panels we need to mount at some point but get plenty of power from these so far.